Most people add to their wardrobe at least once a year. I like to add to my arsenal of muscle-building weapons. This year, for instance, I picked up a safety squat bar, a couple of Swiss bars, a bunch of kettlebells, and some other toys—mainly the type of stuff that fits in the limited space I have. But lately, I’ve been getting the itch to go bigger.
I’ve been thinking about upgrading my power rack. Don’t get me wrong—this rack has served me well over the years (actually, for two decades now), but there are a few things it doesn’t offer that I’d love to have. In particular, I’d like more versatility for chin-ups and pull-ups.
My rack has a straight bar for that purpose, and that’s it. Of course, I’ve added a few things—check out this video—and you can purchase attachments. The problem is, most attachments position you lower relative to the bar. If you’re using a dip belt with added weight, that weight will hit the floor before your arms are fully extended. A weighted vest isn’t much better—it usually bunches up and gets in the way as you pull upward. It just doesn’t work well.
The Poliquin Rack, manufactured by Atlantis Fitness Equipment and designed by legendary strength coach Charles Poliquin, has been on my radar for a while. I’ve thought about getting one—and I’ve got the ceiling height for it. I spent over $20,000 when I had my house built just to gain an extra foot of ceiling height in the basement. Atlantis offers an 8-foot-tall option for the Poliquin Rack, so that’s no issue.
The real issue is floor space. The Poliquin Rack takes up more room than my current one, and that’s a commodity I just don’t have. I need everything as compact as possible. As much as I’d love a Poliquin Rack, it would make my space too tight—but I came up with a solution…
It dawned on me one day that those new Swiss bars could provide all the chin-up options the Poliquin Rack offers. All I need to set it up, believe it or not, are two yoga mats. That’s it!
Here’s How It Works:
Drape the yoga mats over each side of the rack to protect it and prevent the bar from slipping.
You can use any bar you like—a straight bar, EZ curl bar, Swiss bar, trap bar—whatever fits across your power rack will work. This gives you multiple grip options in terms of:
- Width: wide, medium, close
- Orientation: supinated, semi-supinated, neutral, semi-pronated, pronated, and mixed
If you only have standard-grip bars, don’t sweat it. You can always wrap a rolled-up towel around the bar to fatten the grip or grab a pair of Fat Gripz—they even come in different diameters now.
You can do a different chin-up or pull-up variation each month and go an entire year without repeating the same version. Talk about variety! That should help jump-start progress if your gains have stalled due to limited options.
I consider the chin-up or pull-up the “deadlift” of the upper body. These movements should be staples in your training—but you shouldn’t do them the same way every time. Vary the grip width, thickness, and/or orientation slightly, and suddenly, an old favorite becomes a brand-new challenge. Your body will have to adapt—and that sparks new growth.
With a little ingenuity, you can make the most out of limited space and the equipment you already have. If you have the ceiling height and floor space for a Poliquin Rack, go for it. If not, try my homemade version.
Note: To learn how to implement multiple-grip variations of chin-ups and pull-ups into your training, check out my new book Lean and Mean.
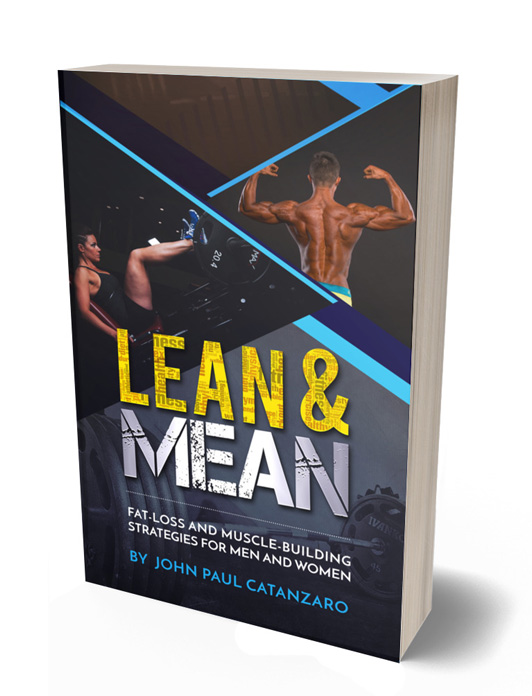
Lean and Mean: Fat-Loss and Muscle-Building Strategies for Men and Women
Lean and Mean gives men and women a practical system for fat loss, muscle building, nutrition, and efficient training. Using real-world coaching experience, John Paul Catanzaro explains how to match training and nutrition strategies to your goals so you can build a leaner, stronger body without relying on fads.
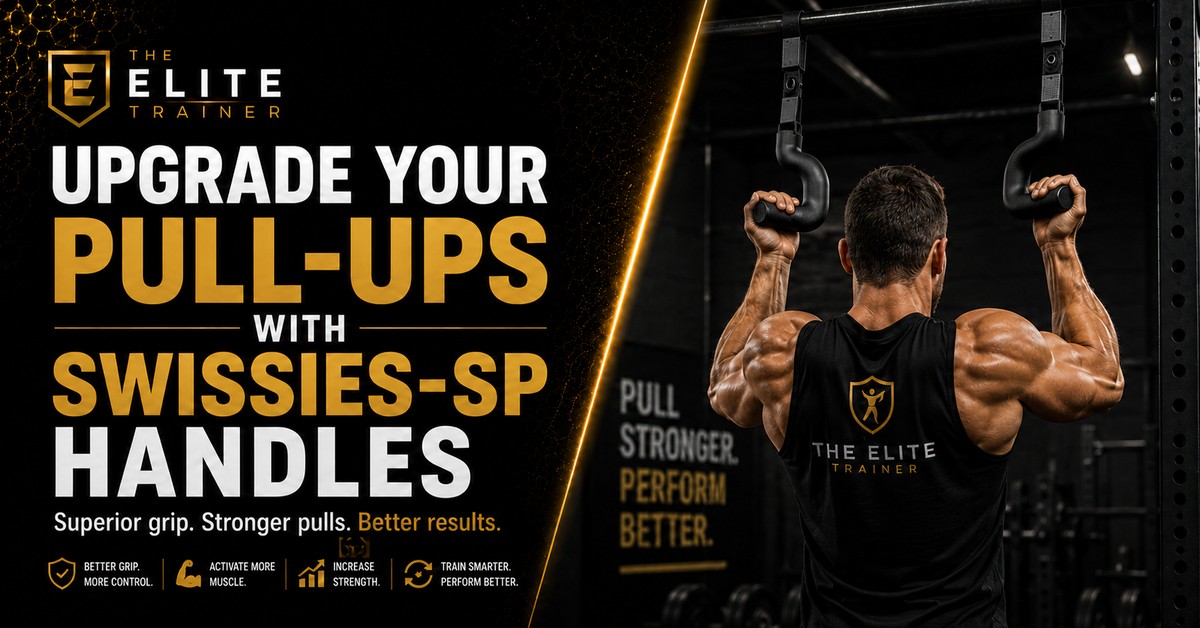
Upgrade Your Pull-Ups with Swissies-SP Handles
Pull-up handles can change more than grip comfort. Swissies-SP handles create new angles, reduce strain for some lifters, and add fresh variety to chin-ups and pull-ups.
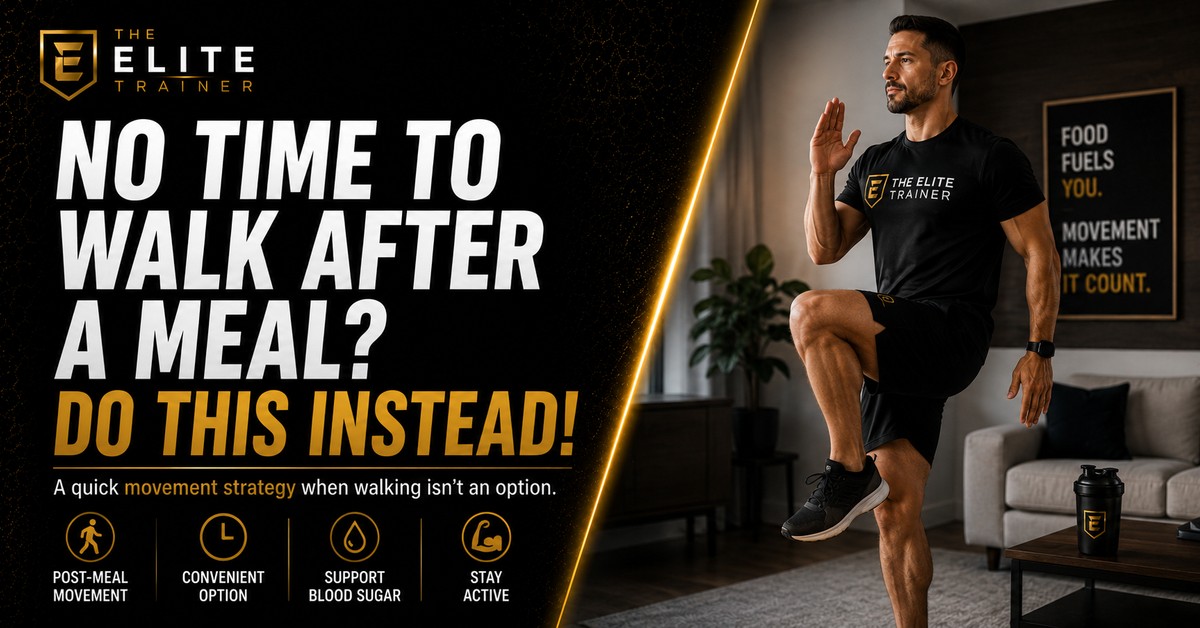
No Time to Walk After a Meal? Do This Instead!
No time for a walk after eating? A short bout of air squats may offer a practical backup plan for getting the body moving and supporting better post-meal habits.
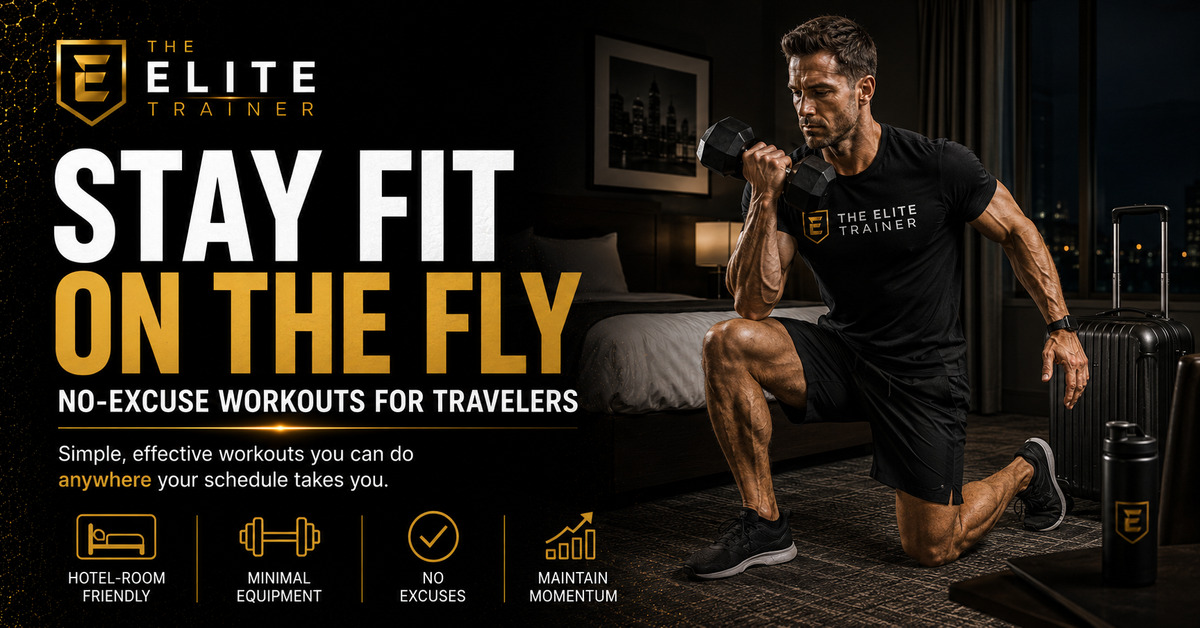
Stay Fit on the Fly: No-Excuse Workouts for Travelers
Travel does not have to wreck your training. With a few bodyweight staples and a no-excuse mindset, hotel rooms, airports, and busy schedules can still support a solid workout.